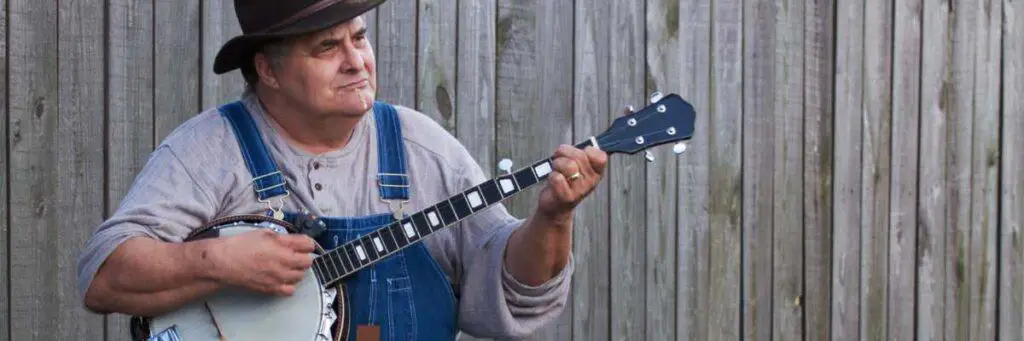
The soulful twang of a banjo is unmistakable, resonating with melodies that evoke both nostalgia and joy. Capturing its authentic sound requires more than just a microphone; it demands an understanding of placement, angle, and technique.
In this article, I will discuss the best techniques for mic a banjo, including mic placement and choosing the right microphone.
Whether you’re a recording novice or a seasoned pro, these techniques will elevate your banjo recordings to new heights.
Key Takeaways
- Understanding the banjo is vital to miking it properly
- Choosing the right microphone and mic placement techniques are essential for capturing the full range of the banjo’s sound
- Miking a banjo requires a unique approach that differs from other instruments.
Table of Contents
How to Mic a Banjo?
To mic a banjo, choose a condenser microphone for studio recordings, placing it 3-6 inches from the banjo’s head between the bridge and tailpiece. For live settings, opt for a durable dynamic or clip-on mic, positioned farther away to prevent feedback, ensuring consistent sound and musician mobility.
Choosing Your Microphone
When it comes to miking a banjo, choosing the right microphone is crucial to achieving the desired sound. There are several types of microphones that can be used to capture the sound of a banjo, each with their own strengths and weaknesses.
One popular type of microphone for recording banjos is the condenser microphone. This type of microphone is known for its high sensitivity and ability to capture a wide range of frequencies. A large diaphragm condenser microphone can be particularly effective for capturing the full sound of a banjo.
Another type of microphone that can be used to mic a banjo is the ribbon microphone. These microphones are known for their warm, natural sound and are particularly effective for capturing the nuances of acoustic instruments. However, they can be quite delicate and require careful handling to avoid damage.
When choosing a microphone to mic a banjo, it’s important to consider the specific needs of your recording setup. If you’re recording in a noisy environment, a lavaliere microphone may be a good choice, as it can be clipped directly onto the banjo player’s clothing to reduce background noise.
Mic Placement Techniques
Mic placement is crucial when it comes to getting a good sound from a banjo. Here are some mic placement techniques that you can use to capture the sound of a banjo:
- Center of the Banjo: One of the most common mic placement techniques is to place the mic at the center of the banjo. This technique involves placing the mic where the neck meets the body of the banjo. This placement allows you to capture the full sound of the banjo, including the highs and lows.
- Neck of the Banjo: Another mic placement technique is to aim the mic at the neck of the banjo. This technique involves placing the mic a few inches away from the neck of the banjo and pointing it towards the neck. This placement allows you to capture the sound of the banjo’s strings and fretboard.
- Bridge of the Banjo: Placing the mic at the bridge of the banjo is another popular mic placement technique. This technique involves placing the mic about 8 to 10 inches away from the front of the bridge. This placement captures the sound of the whole body of the banjo and is great for recording a banjo in a live setting.
Mic Placement Technique for Extra Volume
If you’re playing solo and want to get extra volume from your banjo, try this mic placement technique. Hold the banjo around 1-3 feet back from the mic, with the mic at a 90-degree angle pointed a bit more towards the neck and the center of the head. When picking solo, move up to around 3″ from the same position for extra volume.
Dealing with Noise and Feedback
When you mic a banjo, noise and feedback can be a common issue. However, there are a few techniques that can help minimize these problems.
Firstly, it’s important to consider the environment in which you’re recording or performing. If there are other instruments or sound sources nearby, they may be contributing to the noise and feedback. One way to combat this is through isolation techniques such as using sound barriers or moving the banjo to a quieter location.
Another option is to use a high pass filter, which can help reduce low frequency noise and rumble. This can be particularly useful when recording in a noisy environment or when using a microphone that is sensitive to low frequencies.
When it comes to feedback, there are a few things to keep in mind. One option is to use a pickup or transducer, which can help reduce the risk of feedback. However, if you’re using a microphone, it’s important to position it carefully to avoid feedback. Placing the microphone further away from the banjo or using a directional microphone can also help reduce the risk of feedback.
In addition to these techniques, it’s also important to make sure that your equipment is properly set up and adjusted. This includes making sure that your microphone is properly grounded and that your levels are set correctly.
Recording in a Studio vs Live Performance
When you mic a banjo, the approach can vary depending on whether you are recording in a studio or performing live. In a studio setting, you have more control over the environment and can take the time to experiment with different mic placements to find the best sound.
For recording in a studio, a large diaphragm condenser microphone off-axis to the banjo head is a good starting point. Set it up about two feet away from the playing position, angled so it faces slightly across the skin and towards the neck. This will reduce unwanted dynamic spikes and give you a little more of the string sound in the recording. Experiment with different placements to find the best sound for your project.
Live performance, on the other hand, presents different challenges. You have to consider the acoustics of the venue, the size of the audience, and the other instruments on stage. When you mic a banjo for live performance, it’s important to use a dynamic cardioid microphone like an SM57.
Place the microphone at the 12th fret, 1 to 3 feet out from the instrument. This will help capture the full range of the banjo and minimize unwanted noise from other instruments on stage.
Keep in mind that live performance requires different considerations than studio recording. You may need to adjust your mic placement or technique to accommodate the venue and audience.
Miking for Different Banjo Styles
When you mic a banjo, the style of banjo being played can greatly affect the miking technique used. Here are some tips for miking different banjo styles:
Bluegrass Banjo
Bluegrass banjo is typically played with a resonator banjo and a bright, cutting tone. To capture this sound, a dynamic microphone like the Shure SM57 or a condenser microphone like the AKG C414 can be placed about 6-12 inches away from the banjo’s bridge.
Placing the mic closer to the bridge will capture more attack and brightness, while moving it further away will capture more of the body of the banjo.
Old-Time Banjo
Old-time banjo is typically played on an open-back banjo and has a more mellow, subdued tone. To capture this sound, a ribbon microphone like the Royer R-121 or a condenser microphone with a figure-8 polar pattern like the Neumann U87 can be placed about a foot away from the banjo, pointing towards the 12th fret. This will capture a more balanced sound between the strings and the body of the banjo.
5-String Banjo
The 5-string banjo is a versatile instrument used in many different styles of music. To capture its unique sound, a small-diaphragm condenser microphone like the Audio-Technica AT4053b or a ribbon microphone like the Coles 4038 can be placed about 6-12 inches away from the banjo’s bridge.
Placing the mic closer to the bridge will capture more attack and brightness, while moving it further away will capture more of the body of the banjo.
Tenor Banjo
The tenor banjo is typically used in jazz and Irish music and has a brighter, more focused tone. To capture this sound, a condenser microphone like the AKG C414 or a dynamic microphone like the Electro-Voice RE20 can be placed about 6-12 inches away from the banjo’s bridge.
Placing the mic closer to the bridge will capture more attack and brightness, while moving it further away will capture more of the body of the banjo.
Advanced Techniques and Tips
When you mic a banjo, there are a few advanced techniques and tips that can help you achieve a more precise and detailed sound. Here are some things to keep in mind:
- Experiment with Different Mic Placements: While the standard technique of placing a mic near the bridge can work well, don’t be afraid to try different positions to find the one that works best for your particular banjo and playing style. For example, placing a mic closer to the fretboard can help capture more detail in your picking, while placing it further away can help blend the sound of the banjo with other instruments in the mix.
- Consider Using Two Mics: If you’re recording in a studio or have access to multiple microphones, consider using two to capture different aspects of the banjo’s sound. For example, you could use one mic to capture the sound of the strings and another to capture the sound of the resonating head. This can help create a more full and dynamic sound.
- Pay Attention to Distance: When you mic a banjo, the distance between the mic and the instrument can have a big impact on the final sound. Experiment with different distances to find the one that works best for your setup. Generally, placing the mic closer to the banjo will result in a more detailed and precise sound, while placing it further away will result in a more natural and blended sound.
- Use Reverb Sparingly: While a bit of reverb can help give your banjo a sense of space and depth, be careful not to overdo it. Too much reverb can make the sound muddy and indistinct, especially if you’re using multiple mics. Use reverb sparingly and experiment with different settings to find the right balance.
Additional Equipment and Set-Up
When you mic a banjo, using the right additional equipment and set-up is crucial to achieving the best sound possible. Here are some tips and considerations to keep in mind:
Pick-Ups
Using a pick-up can be an effective way to amplify the sound of your banjo. There are many different types of pick-ups available, including piezo, magnetic, and microphone-based pick-ups. Each type has its own unique sound and characteristics, so it’s important to choose the one that best suits your needs.
Tailpiece
The tailpiece of your banjo can also have a significant impact on the sound quality. A heavier tailpiece can help to enhance the sustain and overall tone of the instrument. It’s also important to ensure that the tailpiece is properly adjusted and tightened to prevent any unwanted buzzing or rattling.
Cable
Choosing the right cable is another important consideration when you need to mic a banjo. A high-quality cable can help to minimize interference and noise, resulting in a cleaner and more accurate sound. It’s also important to choose a cable that is the appropriate length for your set-up.
Set-Up
Proper set-up is key to achieving the best possible sound when you mic a banjo. This includes ensuring that the banjo is properly tuned and that the bridge is in the correct position. It’s also important to experiment with different mic placements and angles to find the sweet spot that works best for your particular banjo and set-up.
Monitor
If you’re using floor monitors, it’s important to choose a mic that is directional and can pick up sound from one side only. This will help to minimize feedback and ensure that you’re able to hear the banjo clearly and accurately.
Building and Buying
If you’re looking to build or buy a banjo specifically for recording or live performance, there are many options available. It’s important to choose a banjo that is well-suited to your needs and preferences, and that is constructed from high-quality materials. Consider factors such as tone, playability, and durability when making your selection.
Understanding the Banjo
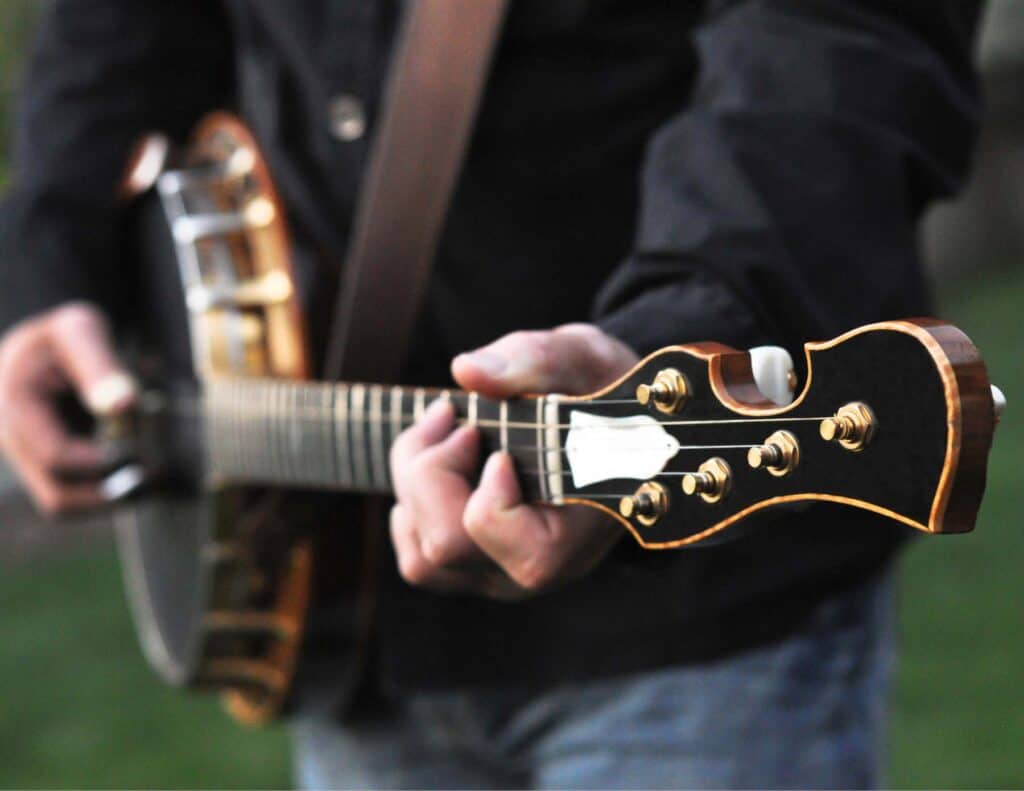
The banjo is a stringed instrument that is popular in American folk music, particularly in genres such as bluegrass and old-time music. It is believed to have originated in Africa, where similar instruments were used, and was brought to the United States by enslaved Africans. The banjo has since become an iconic American instrument, with variations such as the 5-string banjo and the tenor banjo.
The banjo typically has a round body, which is often made of wood, and a long neck with frets. It is played by plucking the strings with the fingers or with a pick. The sound of the banjo is bright and percussive, with a distinctive twang that is characteristic of the instrument.
When you mic a banjo, it is important to understand the unique characteristics of the instrument. The banjo is a relatively loud instrument, with a lot of high-frequency content. It is also prone to picking up unwanted noise and reverberation, particularly if it is being played in a group setting.
To get the best sound when miking a banjo, it is important to choose the right microphone and to position it correctly. Techniques such as placing a mic 8 to 10 inches away from the front of the bridge or facing down about 2 to 3 feet above the banjo can help capture the full timbre of the instrument while minimizing unwanted noise and reverberation.
Comparing Banjo Miking to Other Instruments
When it comes to miking a banjo, there are some similarities and differences compared to miking other instruments. Let’s take a look at how miking a banjo compares to miking other popular instruments like the guitar, acoustic guitar, electric guitar, and drums.
Guitar
Both instruments have a sound hole, which is a natural spot to place a microphone. However, unlike the guitar, a banjo has a drum-like head that can produce a lot of sound. Therefore, it is essential to place the microphone in a way that captures the full timbre of the instrument while minimizing unwanted noise.
Acoustic Guitar
Miking an acoustic guitar is similar to miking a banjo in that both instruments are acoustic and require careful placement of the microphone to capture the full sound of the instrument. However, unlike the banjo, an acoustic guitar has a larger body, which can produce a more significant sound. Therefore, it is essential to experiment with different microphone placements to find the best spot to capture the sound.
Electric Guitar
Miking an electric guitar is a bit different from when you mic a banjo since electric guitars require amplification. With electric guitars, it is common to use a combination of microphones and pickups to capture the sound. However, with a banjo, you can usually get away with using only a microphone since the instrument is naturally loud.
Drums
Drums have many different parts, each producing a unique sound. Therefore, it is common to use multiple microphones to capture the full sound of the kit. With a banjo, you only need one microphone, and the placement is usually straightforward.
Frequently Asked Questions
What are some recommended clip-on microphones for banjos?
Some recommended clip-on microphones for banjos include the DPA 4099G, Audio-Technica PRO 35, and Shure SM137. These microphones are designed to capture the unique sound of the banjo and provide clear and accurate recordings.
What is the best way to position a microphone for recording a banjo?
The best way to position a microphone for recording a banjo is to experiment with different placements until you find the sweet spot. Some common positions include placing the mic 8 to 10 inches away from the front of the bridge to capture the sound of the whole body, or placing a mic facing down about 2 to 3 feet above the banjo and a foot in front of the player’s head.
Are there any specific microphones designed for banjos?
Yes, there are specific microphones designed for banjos such as the DPA 4099G, Audio-Technica PRO 35, and Shure SM137. These microphones are designed to capture the unique sound of the banjo and provide clear and accurate recordings.
What are some tips for getting the best sound when you mic a banjo?
Some tips for getting the best sound when you mic a banjo include experimenting with different microphone positions, using a high-quality microphone, and avoiding placing the microphone too close to the banjo to prevent distortion. It is also important to use a pop filter to reduce plosives and to adjust the EQ to bring out the best qualities of the banjo.
Can a DPA 4099 microphone be used for recording a banjo?
Yes, the DPA 4099 microphone can be used for recording a banjo. This microphone is designed to capture the unique sound of the banjo and provide clear and accurate recordings.
What are some common mistakes to avoid when miking a banjo?
Some common mistakes to avoid when mic a banjo include placing the microphone too close to the banjo, using a low-quality microphone, and not experimenting with different microphone positions. It is also important to avoid using too much gain or compression, as this can lead to distortion and a poor-quality recording.