Knowing how to mic a piano is an essential skill no matter if you’re recording a solo or ensemble performance. Understanding the acoustic properties of the piano and choosing the right microphone and placement techniques can make all the difference in capturing a rich and natural sound.
The piano is a complex instrument that produces sound through a combination of string vibration, soundboard resonance, and hammer action. This means that the sound of the piano can vary greatly depending on factors such as the type of piano, room acoustics, and playing style. By understanding this, you can choose the right microphone and placement to capture the best possible sound.
In this article, I’ll explore the basics of miking a piano, from the different types of microphones to the best placement techniques for different settings.
Key Takeaways
- Understanding the acoustic properties of the piano is essential for miking it properly.
- Choosing the right microphone and placement techniques can make all the difference in capturing a rich and natural sound.
- Experimenting with different techniques and room acoustics can help you achieve the desired sound for your recording.
Table of Contents
Choosing the Right Microphone to Mic a Piano
When it comes to miking a piano, choosing the right microphone is crucial. There are several types of microphones available, but some are better suited for piano recording than others.
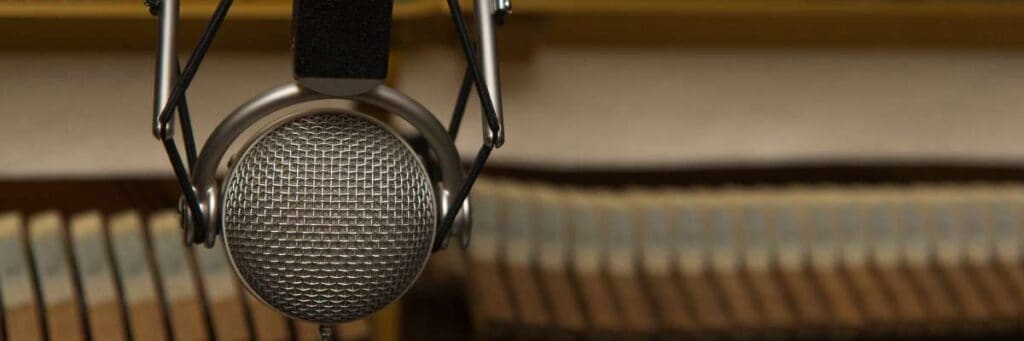
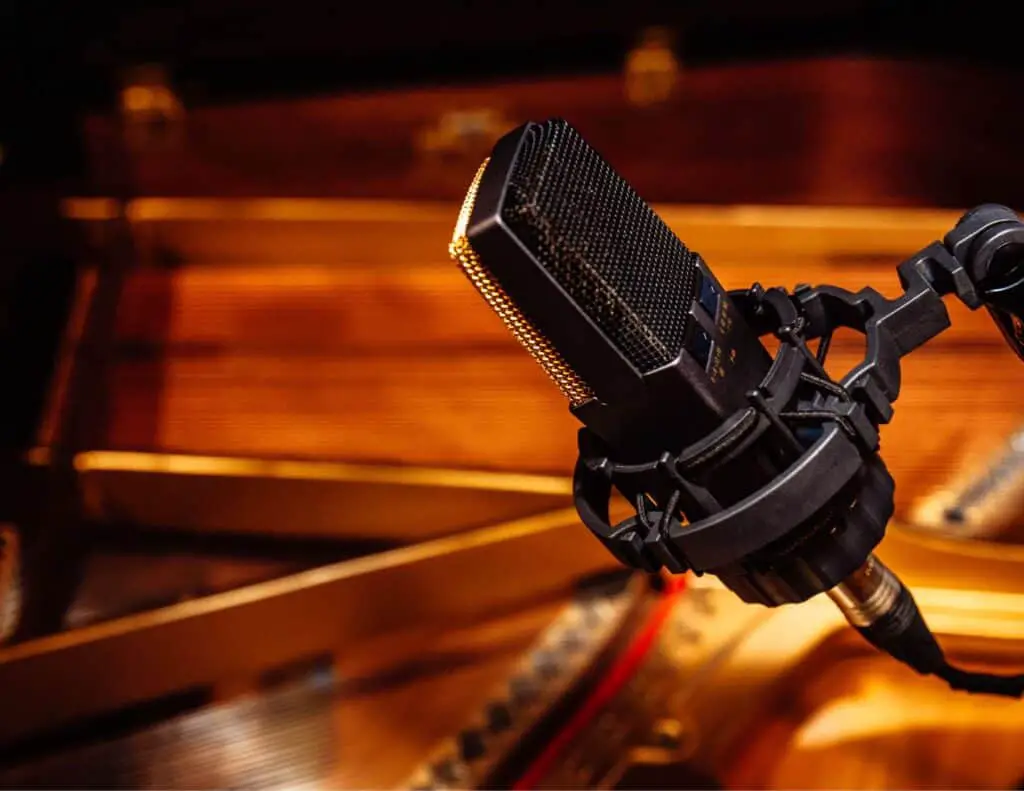
Condenser Microphones
Condenser microphones are the most commonly used microphones for piano recording. They are highly sensitive and can capture a wide range of frequencies produced by a piano. Condenser microphones come in two types: omnidirectional and directional.
- Omnidirectional microphones capture sound from all directions, making them ideal for recording the natural sound of a piano.
- Directional microphones, on the other hand, capture sound from a specific direction, making them suitable for isolating a particular part of the piano.
Boundary Microphones
Boundary microphones are placed on a hard surface, such as the lid of a grand piano, and capture sound by using the surface as a diaphragm. Boundary microphones are ideal for capturing the sound of the entire piano, but they may pick up unwanted sounds from the surrounding environment.
Choosing the Right Microphone
When choosing a microphone for miking a piano, it is essential to consider the type of piano, the acoustics of the room, and the desired sound.
Pro Tip: A grand piano may require a different type of microphone than an upright piano, for example.
It is also important to consider the placement of the microphone. Placing the microphone too close to the hammers may result in a thin, percussive sound, while placing it too far may result in a loss of detail.
Mic Placement Techniques
There are several techniques that can be used, including single mic, stereo pair, spaced pair, X/Y, and ORTF. The choice of technique will depend on the type of piano being recorded, the desired sound, and the available equipment.
Single Mic Placement
Using a single mic to record a piano is a simple technique that can produce great results. The mic should be placed at the sweet spot, which is the point where the sound of the piano is most balanced.
This spot is typically located about 1/3 of the way between the hammers and the edge of the piano lid. The mic should be positioned about 10-12 inches above the strings, angled towards the hammers.
Stereo Pair Placement
A stereo pair is a popular technique for recording pianos, as it captures the full range of sound from both the left and right sides of the instrument.
The most common stereo pair technique involves placing two small-diaphragm omnidirectional mics directly over the strings, just past the hammers. The mics should be spaced about 12-18 inches apart and angled towards the hammers.
Spaced Pair Placement
The spaced pair technique involves placing two mics several feet apart, aimed at the piano from either side.
This technique can produce a wide stereo image and is particularly effective for recording grand pianos. The mics should be positioned at a height that allows them to capture the full range of sound from the piano.
X/Y Placement
The X/Y technique involves placing two mics in a crossed pattern, with the capsules as close together as possible.
This technique is effective for capturing a more centered stereo image and is particularly useful for recording upright pianos. The mics should be positioned above the pianist’s head, angled towards the hammers.
ORTF Placement
The ORTF technique involves placing two cardioid mics in a specific pattern, with the capsules spaced 17cm apart and angled at 110 degrees.
This technique is effective for capturing a natural stereo image and is particularly useful for recording grand pianos. The mics should be positioned above the pianist’s head, angled towards the hammers.

Recording Solo vs Ensemble
When it comes to recording a piano, the approach can vary depending on whether you are recording a solo performance or an ensemble. Here are some tips for each scenario:
Solo Piano
For solo piano recordings, the focus is entirely on capturing the nuances of the pianist’s playing. Here are some tips to keep in mind:
- Mic Placement: Place a pair of condenser microphones in an X/Y configuration above the strings, about 6-12 inches away from the hammers. Adjust the angle of the microphones to capture the full range of the piano.
- Room Acoustics: The room in which the piano is recorded can greatly affect the sound quality. A larger room with high ceilings can provide a more natural reverb, while a smaller room can create a more intimate sound.
- Dynamic Range: Be mindful of the dynamic range of the piano and adjust the recording levels accordingly. The softest notes should be audible without any noise, while the loudest notes should not clip.
Ensemble Piano
Recording an ensemble with a piano can be a bit more challenging, as the piano needs to be balanced with other instruments or vocals. Here are some tips to keep in mind:
- Mic Placement: Place a pair of condenser microphones in an X/Y configuration above the strings, as with solo piano recordings. However, you may need to adjust the placement of the microphones depending on the other instruments in the ensemble. For example, if recording a jazz trio with a piano, bass, and drums, you may want to place the microphones closer to the piano to capture more detail.
- Instrument Balance: It’s important to balance the levels of the instruments in the mix. The piano should be audible, but not overpowering. If recording a singer with a piano accompaniment, the vocals should be the focus, with the piano providing support.
- EQ and Compression: Use EQ and compression to help balance the mix. Boosting the midrange frequencies of the piano can help it cut through the mix, while compression can help even out the dynamics.
Experimenting with Room Acoustics
When it comes to miking a piano, the room acoustics can play a significant role in the overall sound quality. Experimenting with different room acoustics can help you achieve the desired sound for your recording or performance.
One way to manipulate the room acoustics is to adjust the position of the piano within the room. Moving the piano closer to a wall can increase the amount of reflections and reverberation, while moving it away from the wall can decrease these effects. Placing the piano in the center of the room can also result in a more balanced sound.
Another way to manipulate the room acoustics is to use room mics. Placing microphones at a distance from the piano can capture the natural reverb and reflections of the room, adding depth and dimension to the sound. Experimenting with different microphone placements and distances can help achieve the desired effect.
The lid and front panel of the piano can also affect the room acoustics. Opening the lid can increase the volume and brightness of the sound, while closing it can result in a more mellow and intimate sound. Removing the front panel can also increase the volume and brightness of the sound.
Understanding the Acoustic Piano
An acoustic piano is a complex instrument that produces sound through a combination of mechanical and acoustic processes. It consists of a keyboard, hammers, strings, and pedals, all of which work together to create the sound.
- The hammers are the parts of the piano that strike the strings to produce sound. When a key is pressed, a hammer is lifted and released, striking the corresponding string.
- The bass strings are thicker and longer, producing lower frequencies, while the treble strings are thinner and shorter, producing higher frequencies.
- The upper strings are closer to the hammers, while the lower strings are farther away.
- There is also mechanical noise generated by the piano’s mechanisms. This can include the sound of the keys being pressed and released, as well as the sound of the pedals being depressed.
The pedals on a piano are used to modify the sound produced by the instrument.
- The sustain pedal, for example, lifts all of the dampers off the strings, allowing them to vibrate freely and sustain the sound.
- The soft pedal shifts the hammers slightly to the side, reducing the volume of the sound produced.
- The una corda pedal shifts the hammers so that they strike only one string instead of two or three, producing a softer, more delicate sound.
The Role of the Sound Engineer
The sound engineer is responsible for capturing the authentic sound of the instrument and ensuring that it is reproduced accurately through the sound system.
The sound engineer must have a good understanding of the acoustics of the recording or performance space and be able to make informed decisions about microphone placement and other recording equipment.
The sound engineer must also have a good ear for sound quality and be able to identify any issues with the recording or live sound. He or she must be able to adjust the levels of the microphones and other recording equipment to achieve the desired sound quality. They must be able to experiment with different microphone placements and other recording techniques to find the best approach for capturing the sound of the piano.
In addition to technical skills, the sound engineer must have good communication skills and be able to work well with other members of the recording or performance team. He or she must be able to take direction from the producer or artist and be able to provide feedback on the sound quality. They must also be able to work under pressure and be able to troubleshoot any technical issues that arise during the recording or performance.
Piano Recording in Different Settings
When it comes to recording a piano, the setting can play a significant role in the final sound. Whether you are recording in a concert hall, a small studio, or even a live performance, there are different techniques and equipment that can be used to capture the best sound possible.
Concert Hall
Recording a piano in a concert hall requires careful consideration of microphone placement. Typically, a stereo pair of microphones is used to capture the sound of the piano and the surrounding space. It is essential to experiment with microphone placement to find the sweet spot that captures both the piano’s sound and the hall’s acoustics.
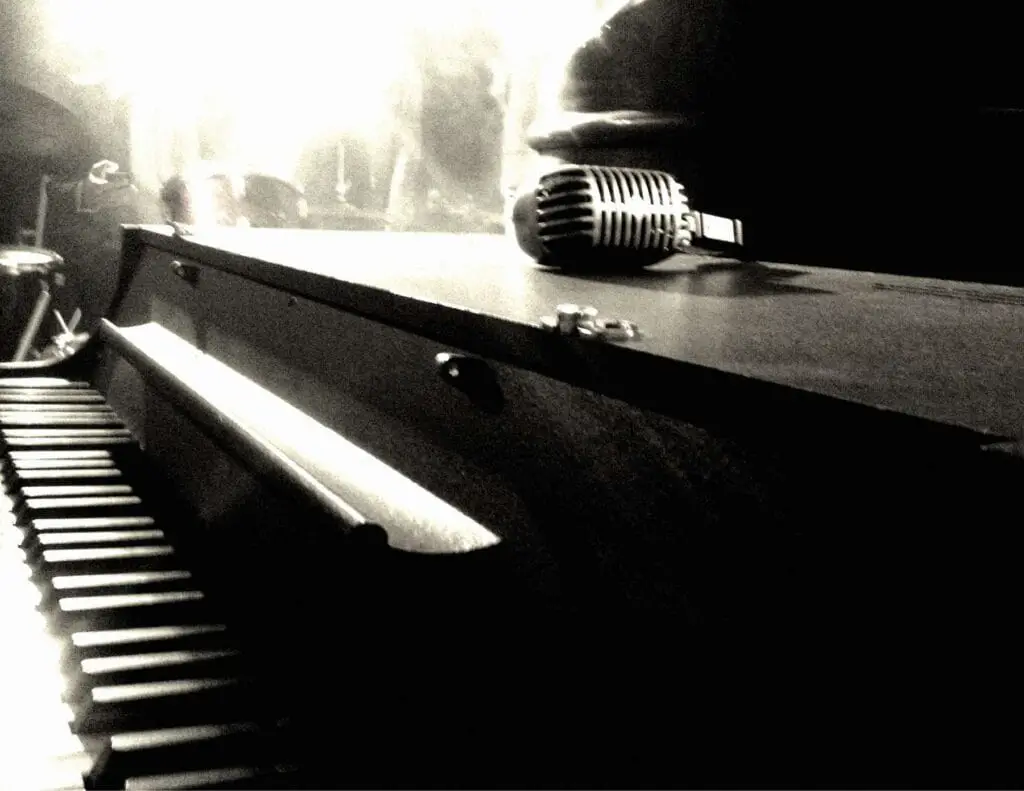
PA System
When using a PA system to amplify a piano, it is essential to use a microphone that can handle the high sound pressure levels produced by the instrument. A dynamic microphone or a condenser microphone with a high SPL rating is a good choice. Placing the microphone close to the piano’s soundboard can help capture the instrument’s full sound.
Stereo vs. Mono
Whether to use a stereo or mono microphone setup when recording a piano depends on the desired sound and the recording environment. In a small studio, a mono microphone setup can be sufficient to capture the piano’s sound. However, in a larger space, a stereo pair of microphones can help capture the piano’s full sound and the surrounding acoustics.
Live Performance
Recording a piano during a live performance requires a different approach than recording in a studio or concert hall. In this setting, it is essential to use microphones that can capture the sound of the piano and the surrounding instruments. A stereo pair of microphones placed close to the piano can help capture the instrument’s sound, while additional microphones can be used to capture the surrounding instruments.
Specifics of How to Mic a Grand Piano
When miking a grand piano, it is essential to consider the placement of the microphones. The lid of the piano can be opened or closed to adjust the sound. Generally, a closed lid will produce a more mellow sound, while an open lid will produce a brighter and more resonant sound.
To mic a grand piano, it is recommended to use two small diaphragm omnidirectional condenser mics using the X/Y technique. The microphones should be placed directly over the strings in the piano just past the hammers. It is recommended to place the microphones 6 to 9 inches above the strings and about 18 to 27 inches apart. There are even specialty piano microphones available that sound amazing and can simplify this technique.
When recording classical piano music, the finest results come out of two omnidirectional microphones in an AB stereo setup in front of the grand piano. The AB stereo pair is placed on the side of the piano to give the listener an illusion of being a part of the audience.
It is important to keep an eye and ear out for phase problems when recording a grand piano. Whether you multi-mic and pan or record in true stereo using something like an XY technique, there can be a lot of stuff out of phase due to all the sound bouncing around inside the case of a piano. Before using the meter, it is recommended to use your ears.
When placing the microphones, it is important to ensure that they are over the piano’s mid-point and that the pan position is also centered. The microphone should be around 8 inches away from the piano hammers and somewhere between 8 and 11 inches above the strings. This is far enough away to reduce any mechanical noise from the piano.
Specifics of How to Mic an Upright Piano
Miking an upright piano is a little different than miking a grand piano. Here are some specifics to keep in mind when miking an upright piano:
- Positioning: The position of the microphone is crucial when miking an upright piano. Place the microphone about 8 inches away from the piano hammers and somewhere between 8 and 11 inches above the strings. This distance is far enough to reduce any mechanical noise from the piano. Make sure the mic is over the piano’s mid-point and that the pan position is also centered.
- Front Panel: Taking the front panel off that sits in front of the strings underneath the keyboard can help improve the sound quality. This technique is especially useful when recording an upright piano in a studio setting. Removing the front panel can help expose the soundboard and allow the microphone to capture the sound more accurately.
- Microphone Type: When miking an upright piano, consider using a condenser microphone. Condenser microphones are highly sensitive and can capture the nuances of the piano’s sound. They are also ideal for capturing the high frequencies of the piano.
- Stereo Pair Technique: The ORTF or X/Y stereo pair technique can be used when miking an upright piano. Place the stereo pair about 3 feet away from the back soundboard. This method will provide a nice wide stereo field but may be lacking in high end and note definition.
- Single Mic Technique: Over the open lid of the piano, place either a single mic, a spaced pair, or a coincident pair. With the piano pulled away from the wall so the soundboard is facing the room, a pair of mics can be placed at a distance of 6-8 inches. These can be either spaced with one at each end of the soundboard or together in an X-Y pattern.
Final Thoughts
Learning how to mic a piano can be a challenge, but it is essential to get the best possible recording. There are different techniques to mic a piano, and each one can produce a unique sound. A lot depends on the type of piano, the room, and the desired sound.
When recording a piano, it is important to experiment with different microphone placements and techniques to achieve the desired sound. Using a combination of microphones can also produce a fuller sound.
Some of the popular microphone techniques for recording a piano include:
- Close Miking: This technique involves placing the microphone close to the piano strings or hammers to capture a more percussive sound.
- Distant Miking: This technique involves placing the microphone farther from the piano to capture more of the room’s natural reverb and ambiance.
- Stereo Miking: This technique involves using two microphones to capture the piano’s left and right channels and produce a more natural sound.
When choosing a microphone, it is essential to consider the microphone’s frequency response, polar pattern, and sensitivity. Condenser microphones are the most commonly used microphones for recording a piano due to their sensitivity and ability to capture a wide frequency range.
Frequently Asked Questions
How do you mic an upright piano with one mic?
Miking an upright piano with one mic can be a bit tricky, but it’s possible. The best way to do it is to place the microphone above the hammers, pointing towards the strings. This will capture the sound of the entire piano.
What kind of microphone do you use for piano?
There are many types of microphones that can be used for recording a piano. Condenser microphones are the most common choice for recording a piano because they are sensitive and can capture the nuances of the instrument. Ribbon microphones are also a popular choice as they can add warmth and character to the sound.
How do you mic a piano for studio recording?
When recording a piano in a studio, it’s important to experiment with microphone placement to find the best sound. One common technique is to use a stereo pair of microphones, one on each side of the piano. Another technique is to use a close-mic setup, where the microphones are placed close to the hammers to capture the percussive sound of the piano.
How to mic a piano with two mics?
To mic a piano with two mics, you can use a stereo pair of microphones, one on each side of the piano. Alternatively, you can use two microphones placed on the bass and treble sides of the piano. Make sure the microphones are equidistant from the piano to avoid any phase issues.
What is the best piano microphone for live sound?
When it comes to live sound, dynamic microphones are a popular choice for miking a piano. The Shure SM57 and SM58 are both commonly used for live piano miking. Condenser microphones can also be used, but they are more sensitive and may pick up unwanted sounds from the stage.
Where to place mics on an upright piano for optimal sound?
When miking an upright piano, it’s best to place the microphone above the hammers, pointing towards the strings. This will capture the sound of the entire piano. You can experiment with different distances and angles to find the best sound.